Your car is more than just a mode of transportation; it reflects your personality and style. Whether you own a vintage classic or a modern marvel, keeping your car in pristine condition is essential to maintain its appeal. One often overlooked aspect of car maintenance is headlight restoration.
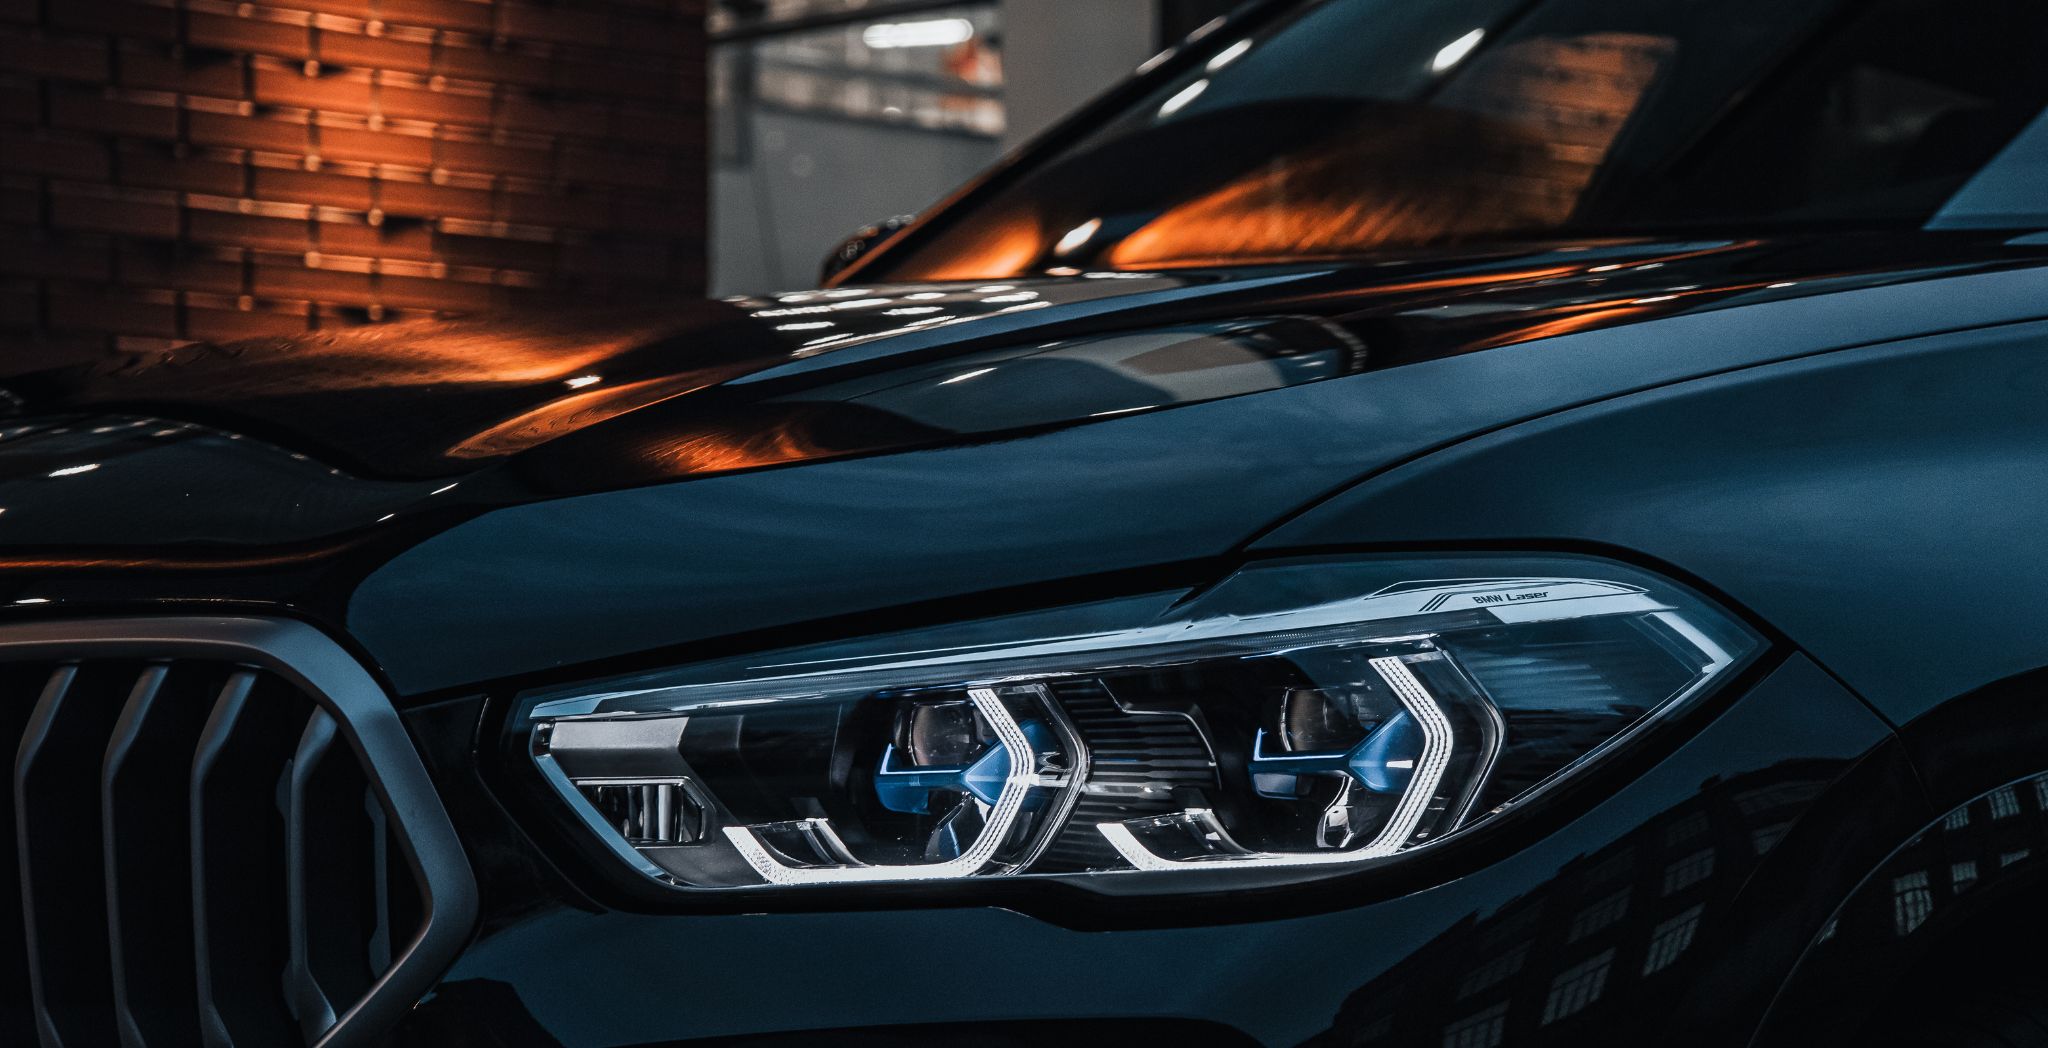
Your car’s headlights play a crucial role in safety and significantly contribute to its overall aesthetics. Over time, headlights can become foggy, yellowed, or hazy due to UV exposure, oxidation, and environmental factors.
Neglecting them can diminish your car’s appearance and compromise your safety on the road. This blog will explore the do’s and don’ts of headlight restoration, helping you preserve your car’s appeal and ensure safety.
Why Headlight Restoration Matters
Before diving into the do’s and don’ts of headlight restoration, let’s understand why it is such a crucial aspect of car maintenance.
1. Safety

Clear, properly functioning headlights are essential for safe nighttime driving. Dim or foggy headlights can reduce visibility and increase the risk of accidents. Restoring your headlights enhances your ability to see the road and be seen by other drivers.
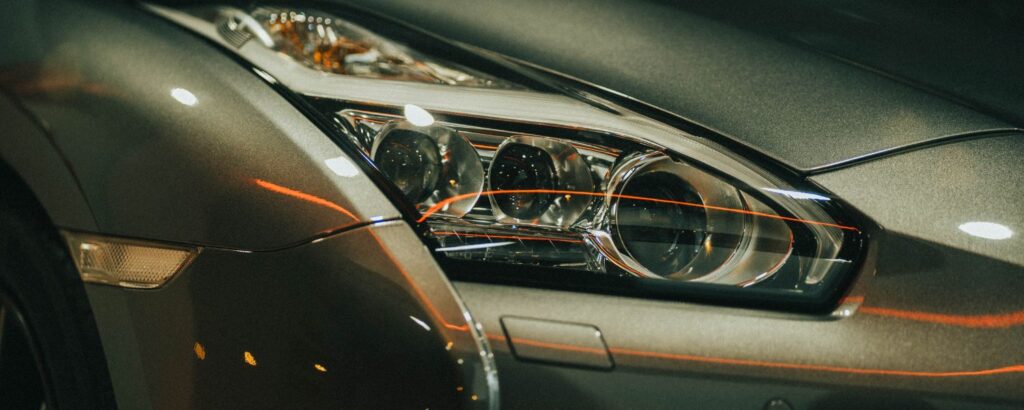
2. Aesthetics
Your car’s appearance reflects your personality and taste. Dull, discolored headlights can make your car look old and neglected. Restoring them instantly improves the overall look of your vehicle, enhancing its curb appeal and potentially increasing its resale value.
3. Cost-Effective
Replacing your headlights entirely can be expensive, especially if you own a luxury or high-end vehicle. Headlight restoration is a cost-effective alternative that can save money while achieving similar results.
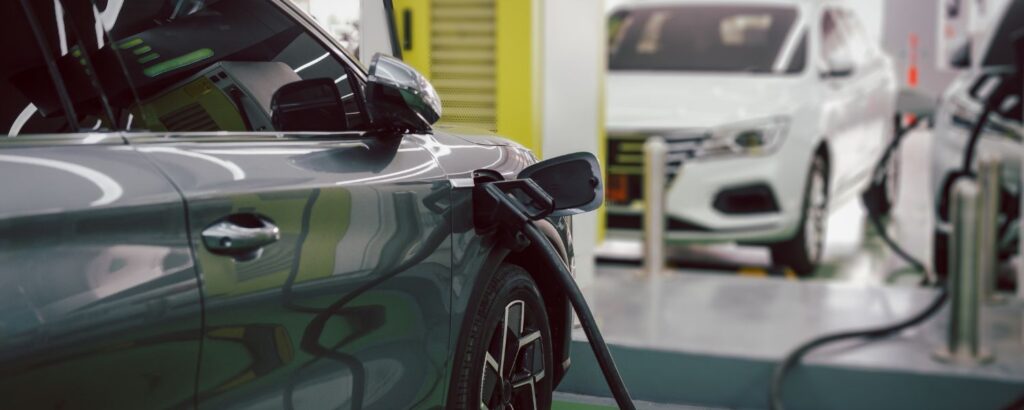
4. Environmentally Friendly

The plastic used in modern headlights is durable but can take a toll on the environment if not properly maintained. Restoring your headlights reduces the need for new parts, contributing to sustainability efforts.
Now that you understand the importance of headlight restoration, let’s delve into the do’s and don’ts to ensure you go about it correctly.
The Do’s of Headlight Restoration
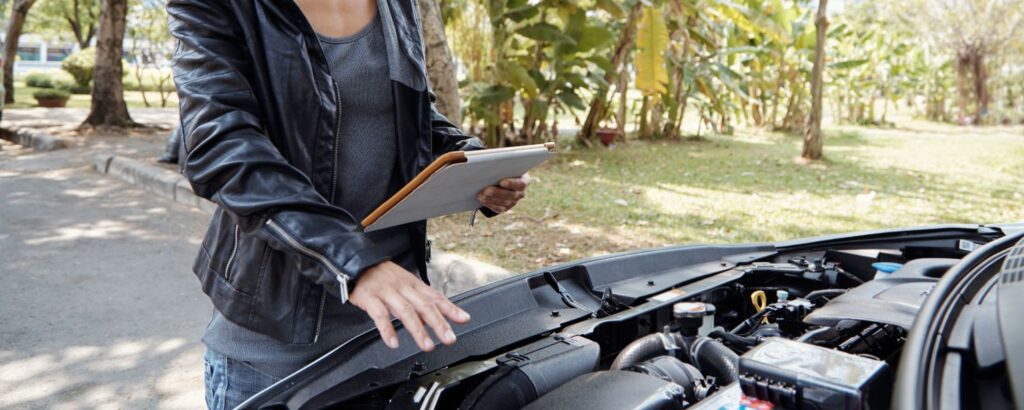
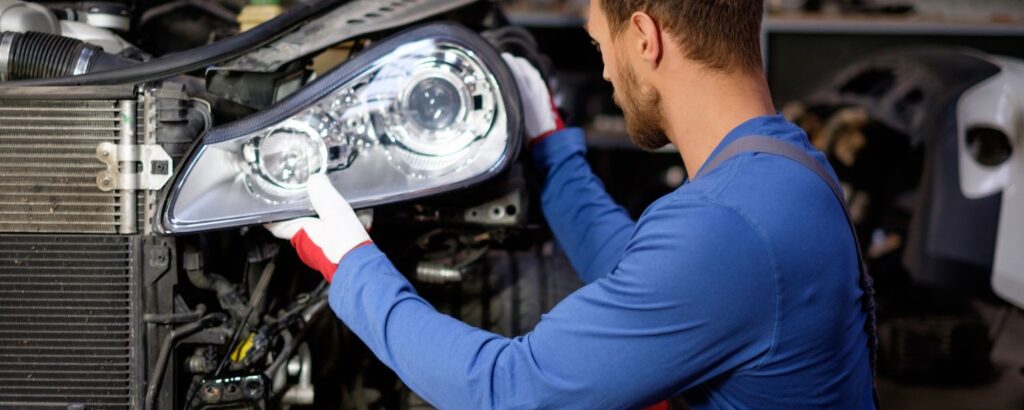
1. Inspect Your Headlights Regularly
Prevention is often better than cure. Regularly inspect your headlights for signs of fogging, yellowing, or hazing. Early detection allows you to address issues before they worsen, making restoration easier and more effective.
2. Gather the Necessary Supplies
Before you begin the restoration process, gather all the necessary supplies. This typically includes headlight restoration kits, masking tape, microfiber towels, sandpaper (various grits), and a drill with a buffing attachment. Having everything on hand will streamline the process and prevent interruptions.
3. Follow the Instructions Carefully
If you’re using a headlight restoration kit, read and follow the manufacturer’s instructions carefully. Each kit may have slightly different steps, so adhering to the provided guidelines is essential to ensuring the best results.
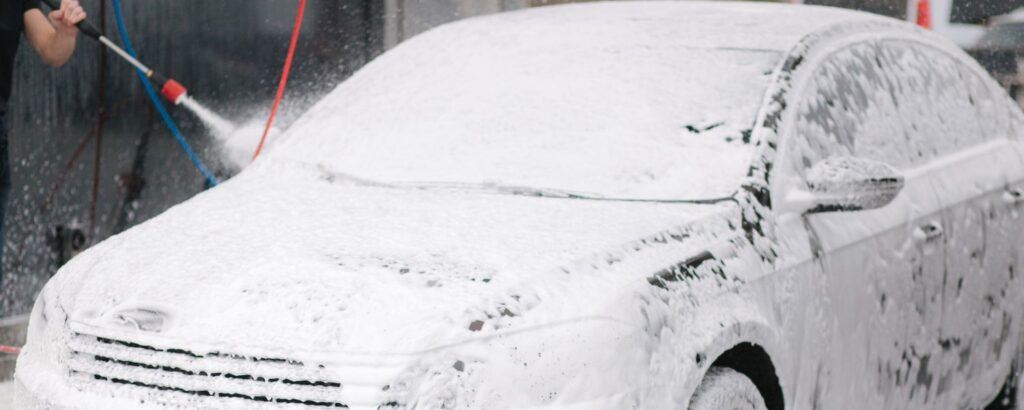
4. Clean the Headlights Thoroughly
Before starting the restoration process, make sure your headlights are clean. Use a car-specific cleaning solution to remove dirt, grime, and debris from the surface. This ensures the restoration focuses on the underlying issues rather than surface contaminants.
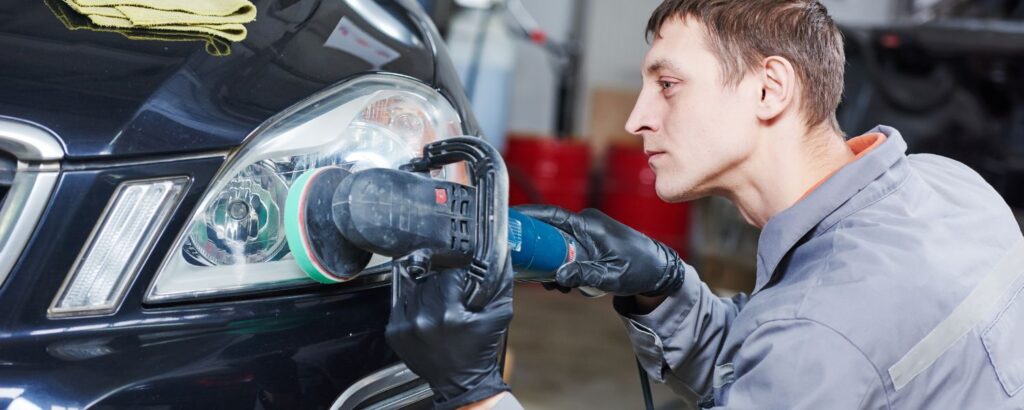
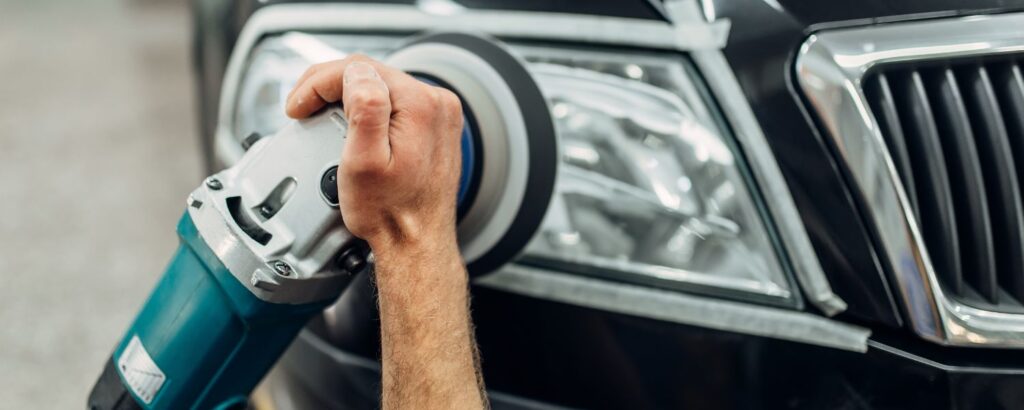
5. Sand the Headlights
Sanding is a critical step in headlight restoration. Start with a lower-grit sandpaper (around 800) and gradually move to higher grits (up to 2000) to remove the outer layer of oxidized plastic. Sanding should be done evenly and consistently, and you should keep the surface wet to prevent heat buildup. This step will help eliminate the foggy or hazy appearance.
6. Use a Quality Headlight Restoration Kit
Invest in a high-quality headlight restoration kit with proven results. These kits typically include sandpaper, polishing compounds, and a UV protectant. Quality kits often yield better and longer-lasting results compared to DIY solutions.
7. Protect Your Headlights After Restoration

Once you’ve restored your headlights, protecting them from further damage is essential. Apply a UV-resistant sealant or clear coat to shield the plastic from harmful UV rays and environmental factors. This step prolongs the life of your headlights and maintains their clarity.
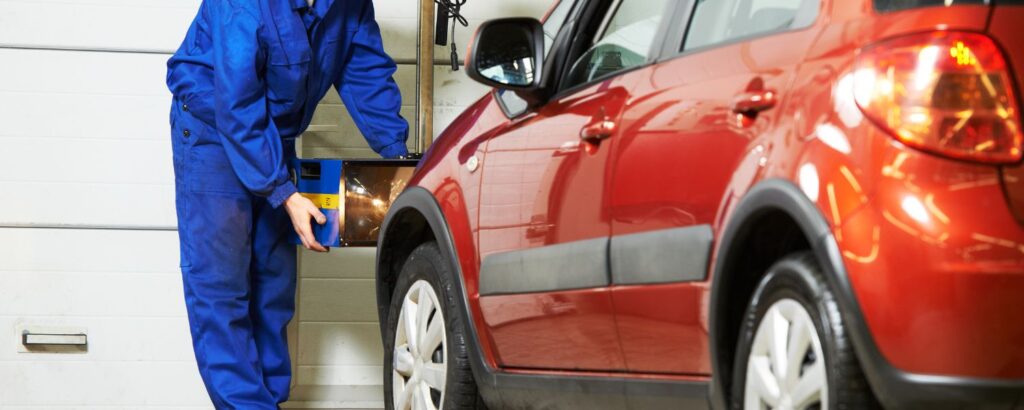
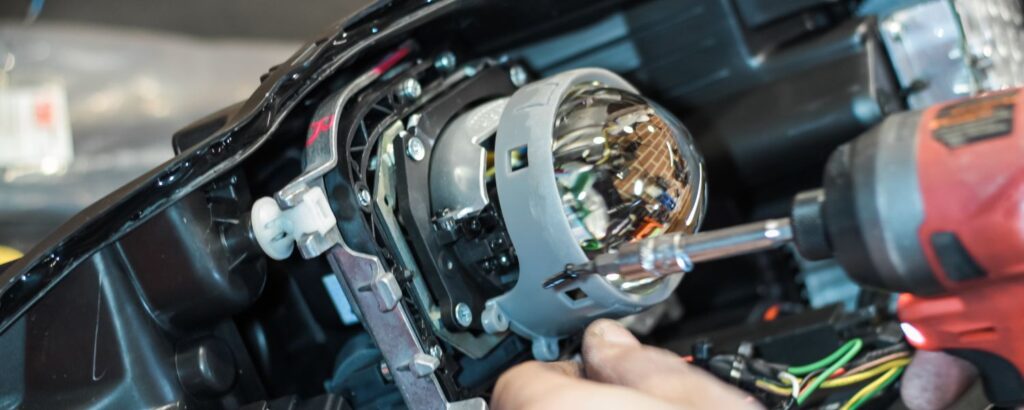
8. Seek Professional Help if Necessary
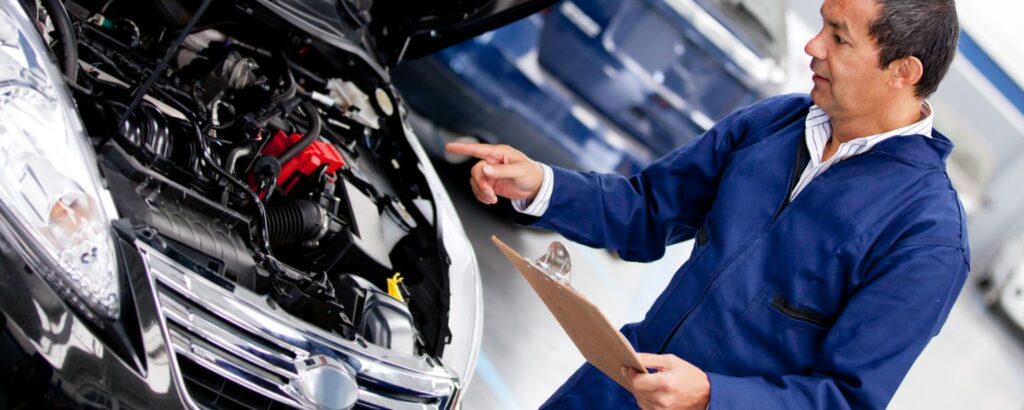
While DIY headlight restoration is accessible and cost-effective, some cases may require professional intervention. If your headlights are severely damaged or heavily scratched, or if you need more confidence in your restoration skills, consider consulting a professional auto detailer or body shop.
9. Maintain Regular Cleaning

After restoration, incorporate headlight cleaning into your regular car maintenance routine. Simply cleaning them with a microfiber cloth and a car-specific cleaning solution can help prevent future damage and maintain their clarity.
The Don’ts of Headlight Restoration
1. Don’t Use Household Cleaners or Abrasives
Avoid using household cleaners, toothpaste, or abrasive materials like steel wool to clean your headlights. These can scratch the plastic surface and worsen the problem.
2. Don’t Skip the Sanding Step

Sanding is a crucial part of the restoration process. Skipping or rushing through this step can lead to uneven results and reduced clarity. Take your time and ensure that you sand the headlights thoroughly and evenly.
3. Don’t Overlook Masking

When sanding or applying restoration compounds, mask off the surrounding areas to protect your car’s paint and finish. Neglecting this step can result in accidental damage to your vehicle’s body
4. Don’t Rush the Process

Headlight restoration takes time and patience. Rushing through the steps can lead to subpar results. Dedicate a few hours to the process, ensuring each step is completed correctly.
5. Don’t Neglect Protective Measures

Once your headlights are restored, apply a UV protectant or clear coat to safeguard against future damage. This step is necessary to avoid the rapid return of foggy or yellowed headlights.
6. Don’t Ignore Professional Advice When Needed

If your headlights are severely damaged or lack the necessary tools and skills, don’t hesitate to seek professional help. Attempting a complex restoration without the right expertise can result in irreversible damage.
Conclusion
Preserving your car’s appeal goes beyond aesthetics; it’s about safety, environmental responsibility, and cost-effectiveness. Headlight restoration is a vital aspect of car maintenance that should be noticed. Following the do’s and don’ts outlined in this guide ensures that your car’s headlights remain clear, functional, and visually appealing.
Regular inspection, proper cleaning, and quality restoration kits are key to maintaining your headlights. Remember that while DIY restoration is possible, there are cases where professional intervention may be necessary.
Ultimately, investing time and effort into headlight restoration will enhance your car’s appearance and contribute to safer and more enjoyable drives for years to come.
Eco Car Cafe is a sanctuary for car enthusiasts who want to preserve their vehicle’s appeal. This eco-conscious establishment offers top-notch car detailing services using environmentally friendly products and practices.
With their expertise, they ensure your car stays immaculate and retains its aesthetic charm while reducing its environmental footprint. Visit Ecocarcafe for more information.